Overview
Interactions are how you prototype and add motion to your design. In Play for macOS, you’ll enter Interaction Mode to add interactions to your objects.NoteYou cannot add interactions in Play for iOS yet. You can only edit your design and test your interactions on iOS.
Anatomy of an Interaction
Interactions in Play start with a trigger, which is the event that causes an interaction to fire. Most triggers have trigger properties that allow you to further customize the behavior that the trigger will listen for. On a trigger, you’ll add an action, which will affect the look, feel, or behavior of your prototype. When a trigger fires, the action(s) on that trigger will occur. Play also offers prefabs, which are pre-fabricated, ready-made interactions that the Play Team has created for you to drag and drop into your projects, making prototyping common interactions much more efficient. With our triggers, actions, and prefabs, there are over 1000 different combinations, giving you the flexibility to create dynamic interactions to make your design interactive and unique!Creating an Interaction
To create an interaction, you’ll first want enter Interaction Mode using the segmented control at the bottom center of the Play editor (or pressing4 on your keyboard).
You’ll then select the object to place the interaction.
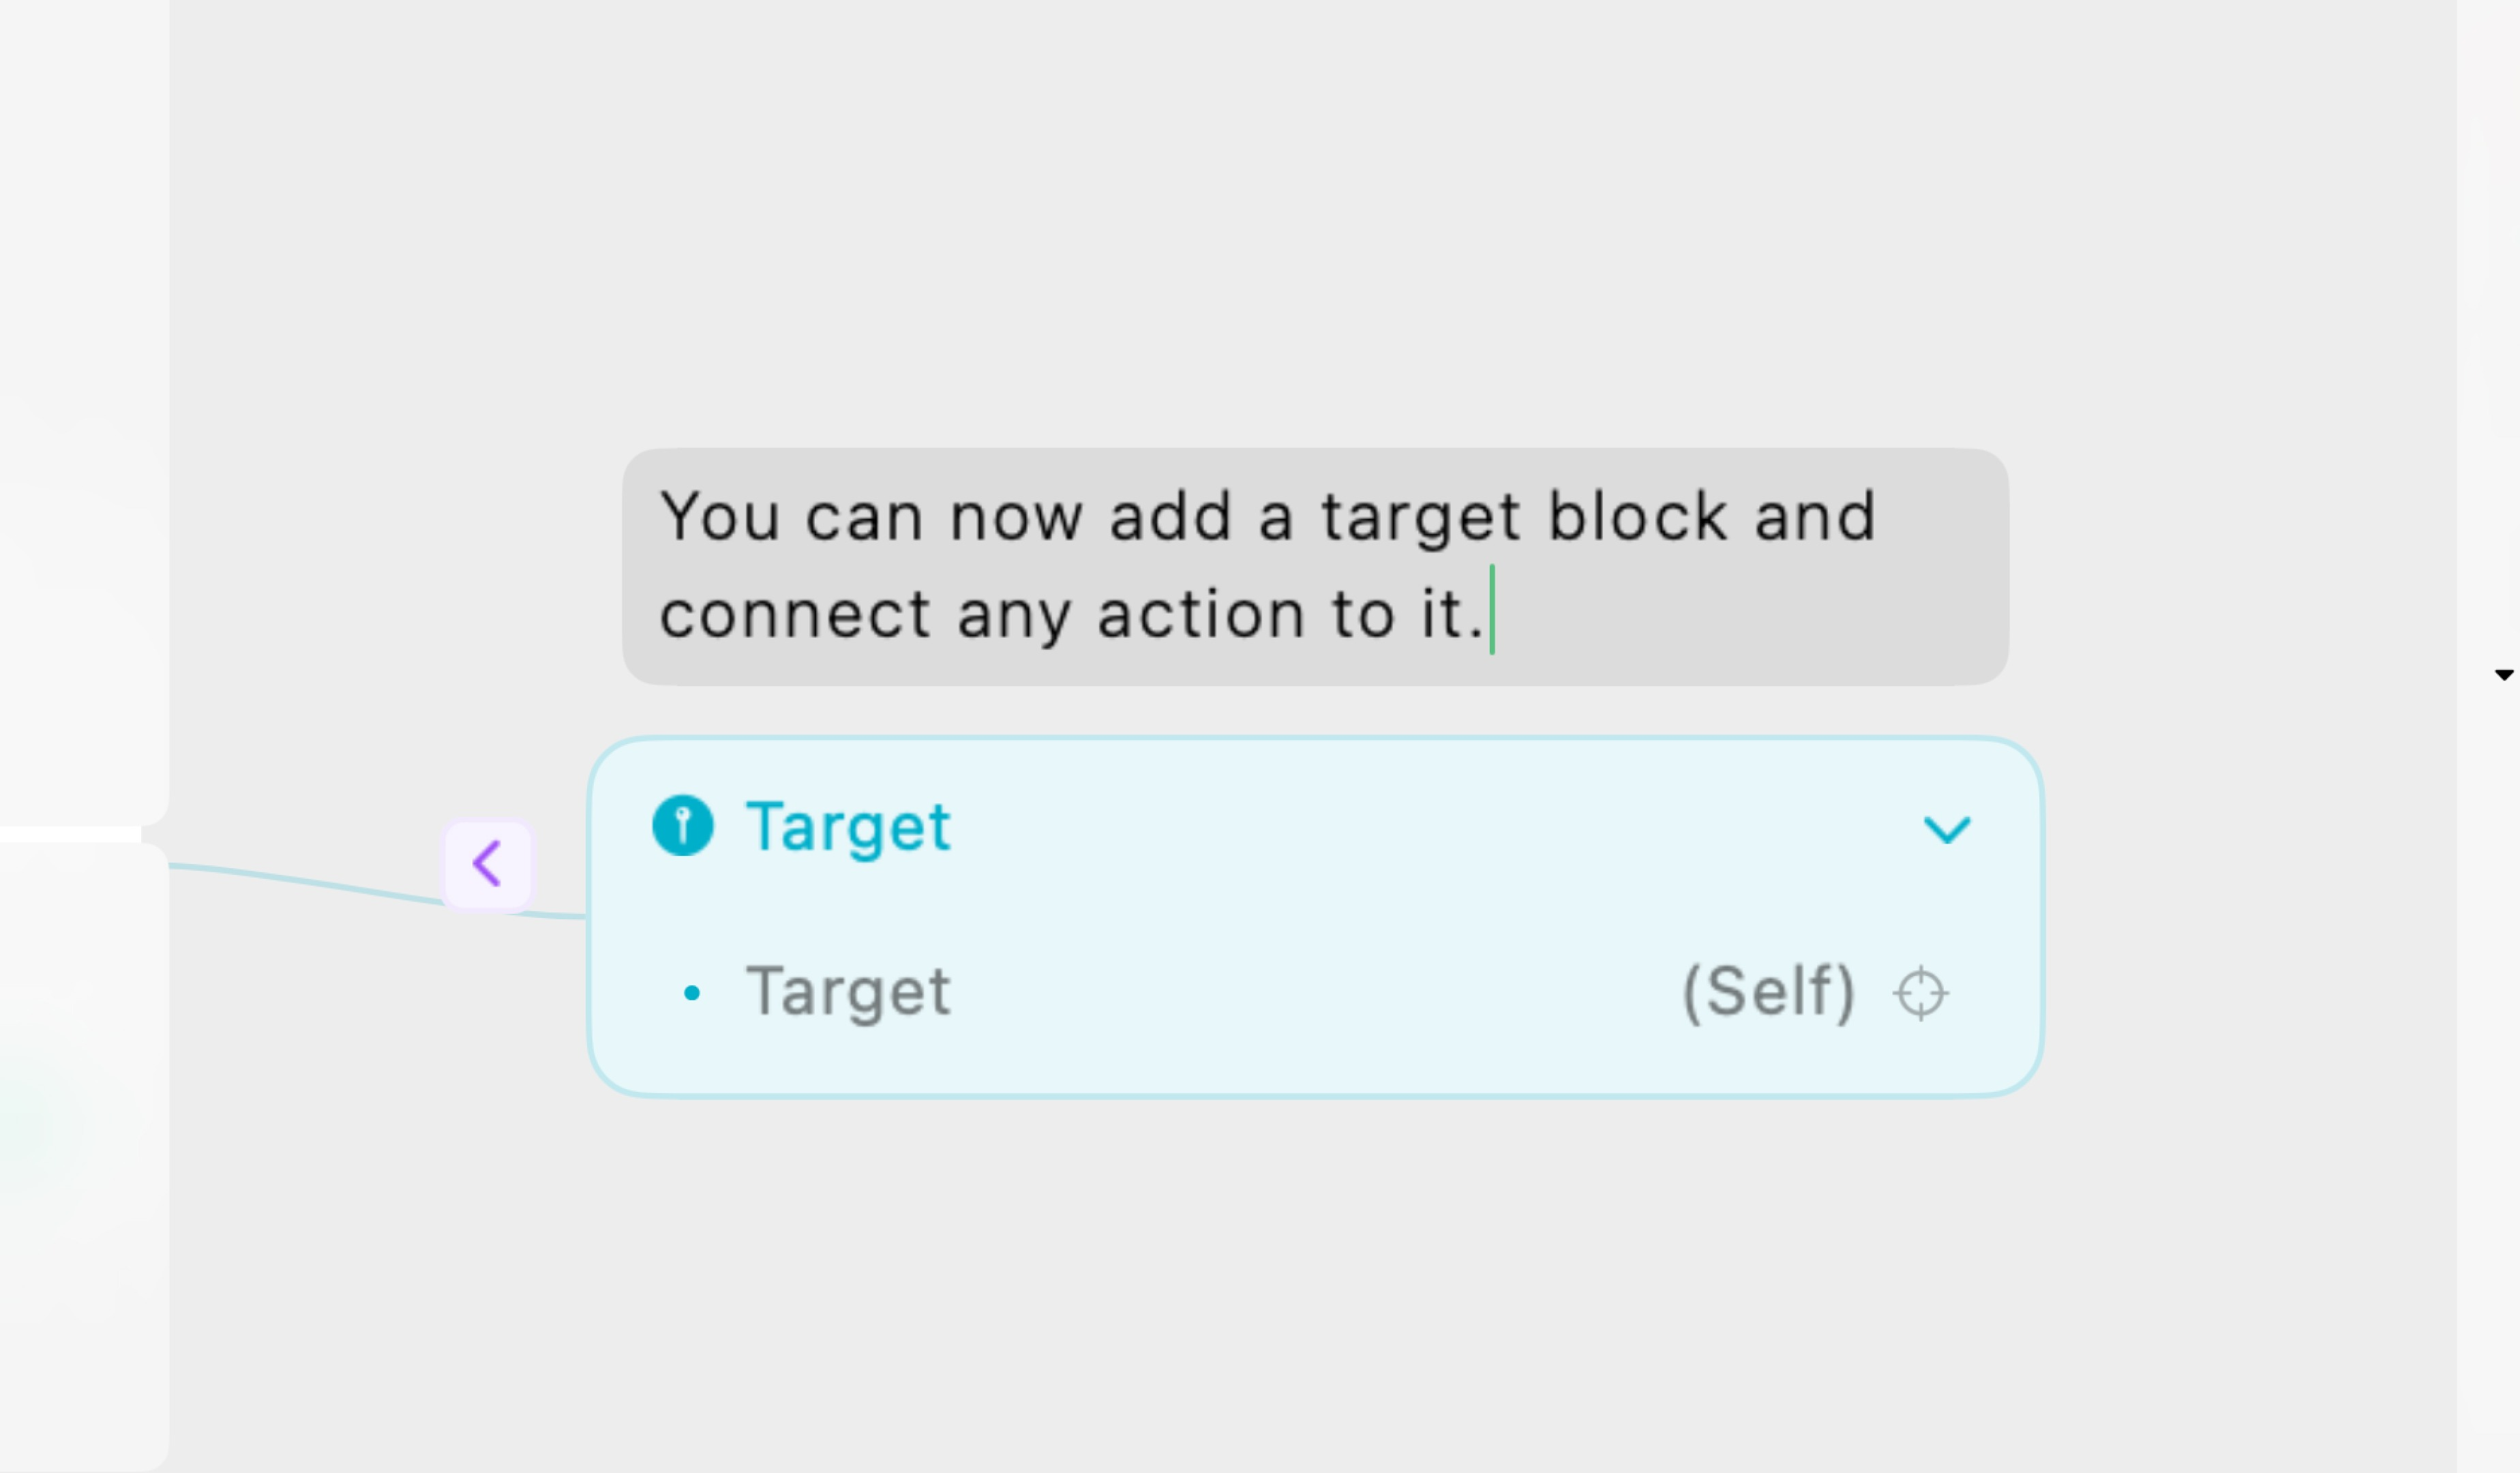
Next, add a trigger:
Then add one or more actions (or other interaction nodes) the same way you added a trigger.
Managing an Interaction
You can manage any aspect of your interaction by right-clicking on an interaction node. Here, you can duplicate, rename, disable, and minimize a node, along with other options. You can also manage interaction nodes using the following shortcuts:- D: to disable the selected node
- CMD + D: to duplicate the selected node
- Delete: to delete the selected node
- A: to open the quick add menu
- Enter: to toggle collapse the selected node and all nodes attached (you can also double-click on the node’s body)
- M: to toggle collapse only the selected node
- C: to toggle collapse only the attached nodes
- CMD + R: to rename the node (or double-click on the node’s title)
Testing an Interaction
Test your interaction on your iPhone through Play Mode. Tap the “Connect to macOS” button in your iOS app that appears when you have a project open on macOS. When connected, the iOS app will display your selection on macOS, ready for you to interact with it. Making changes to an interaction will update it automatically on your phone, so you can test the change in real time. To reset an interaction without making any changes, double tap the screen with two fingers. If you don’t have your iOS device handy, use Play’s Simulator!Lock Selection
To keep the same view displayed on iOS Play Mode, rather than changing the view based on the selection on macOS, you can lock the selection. In an object’s context bar in Design Mode, just Pin the Selection.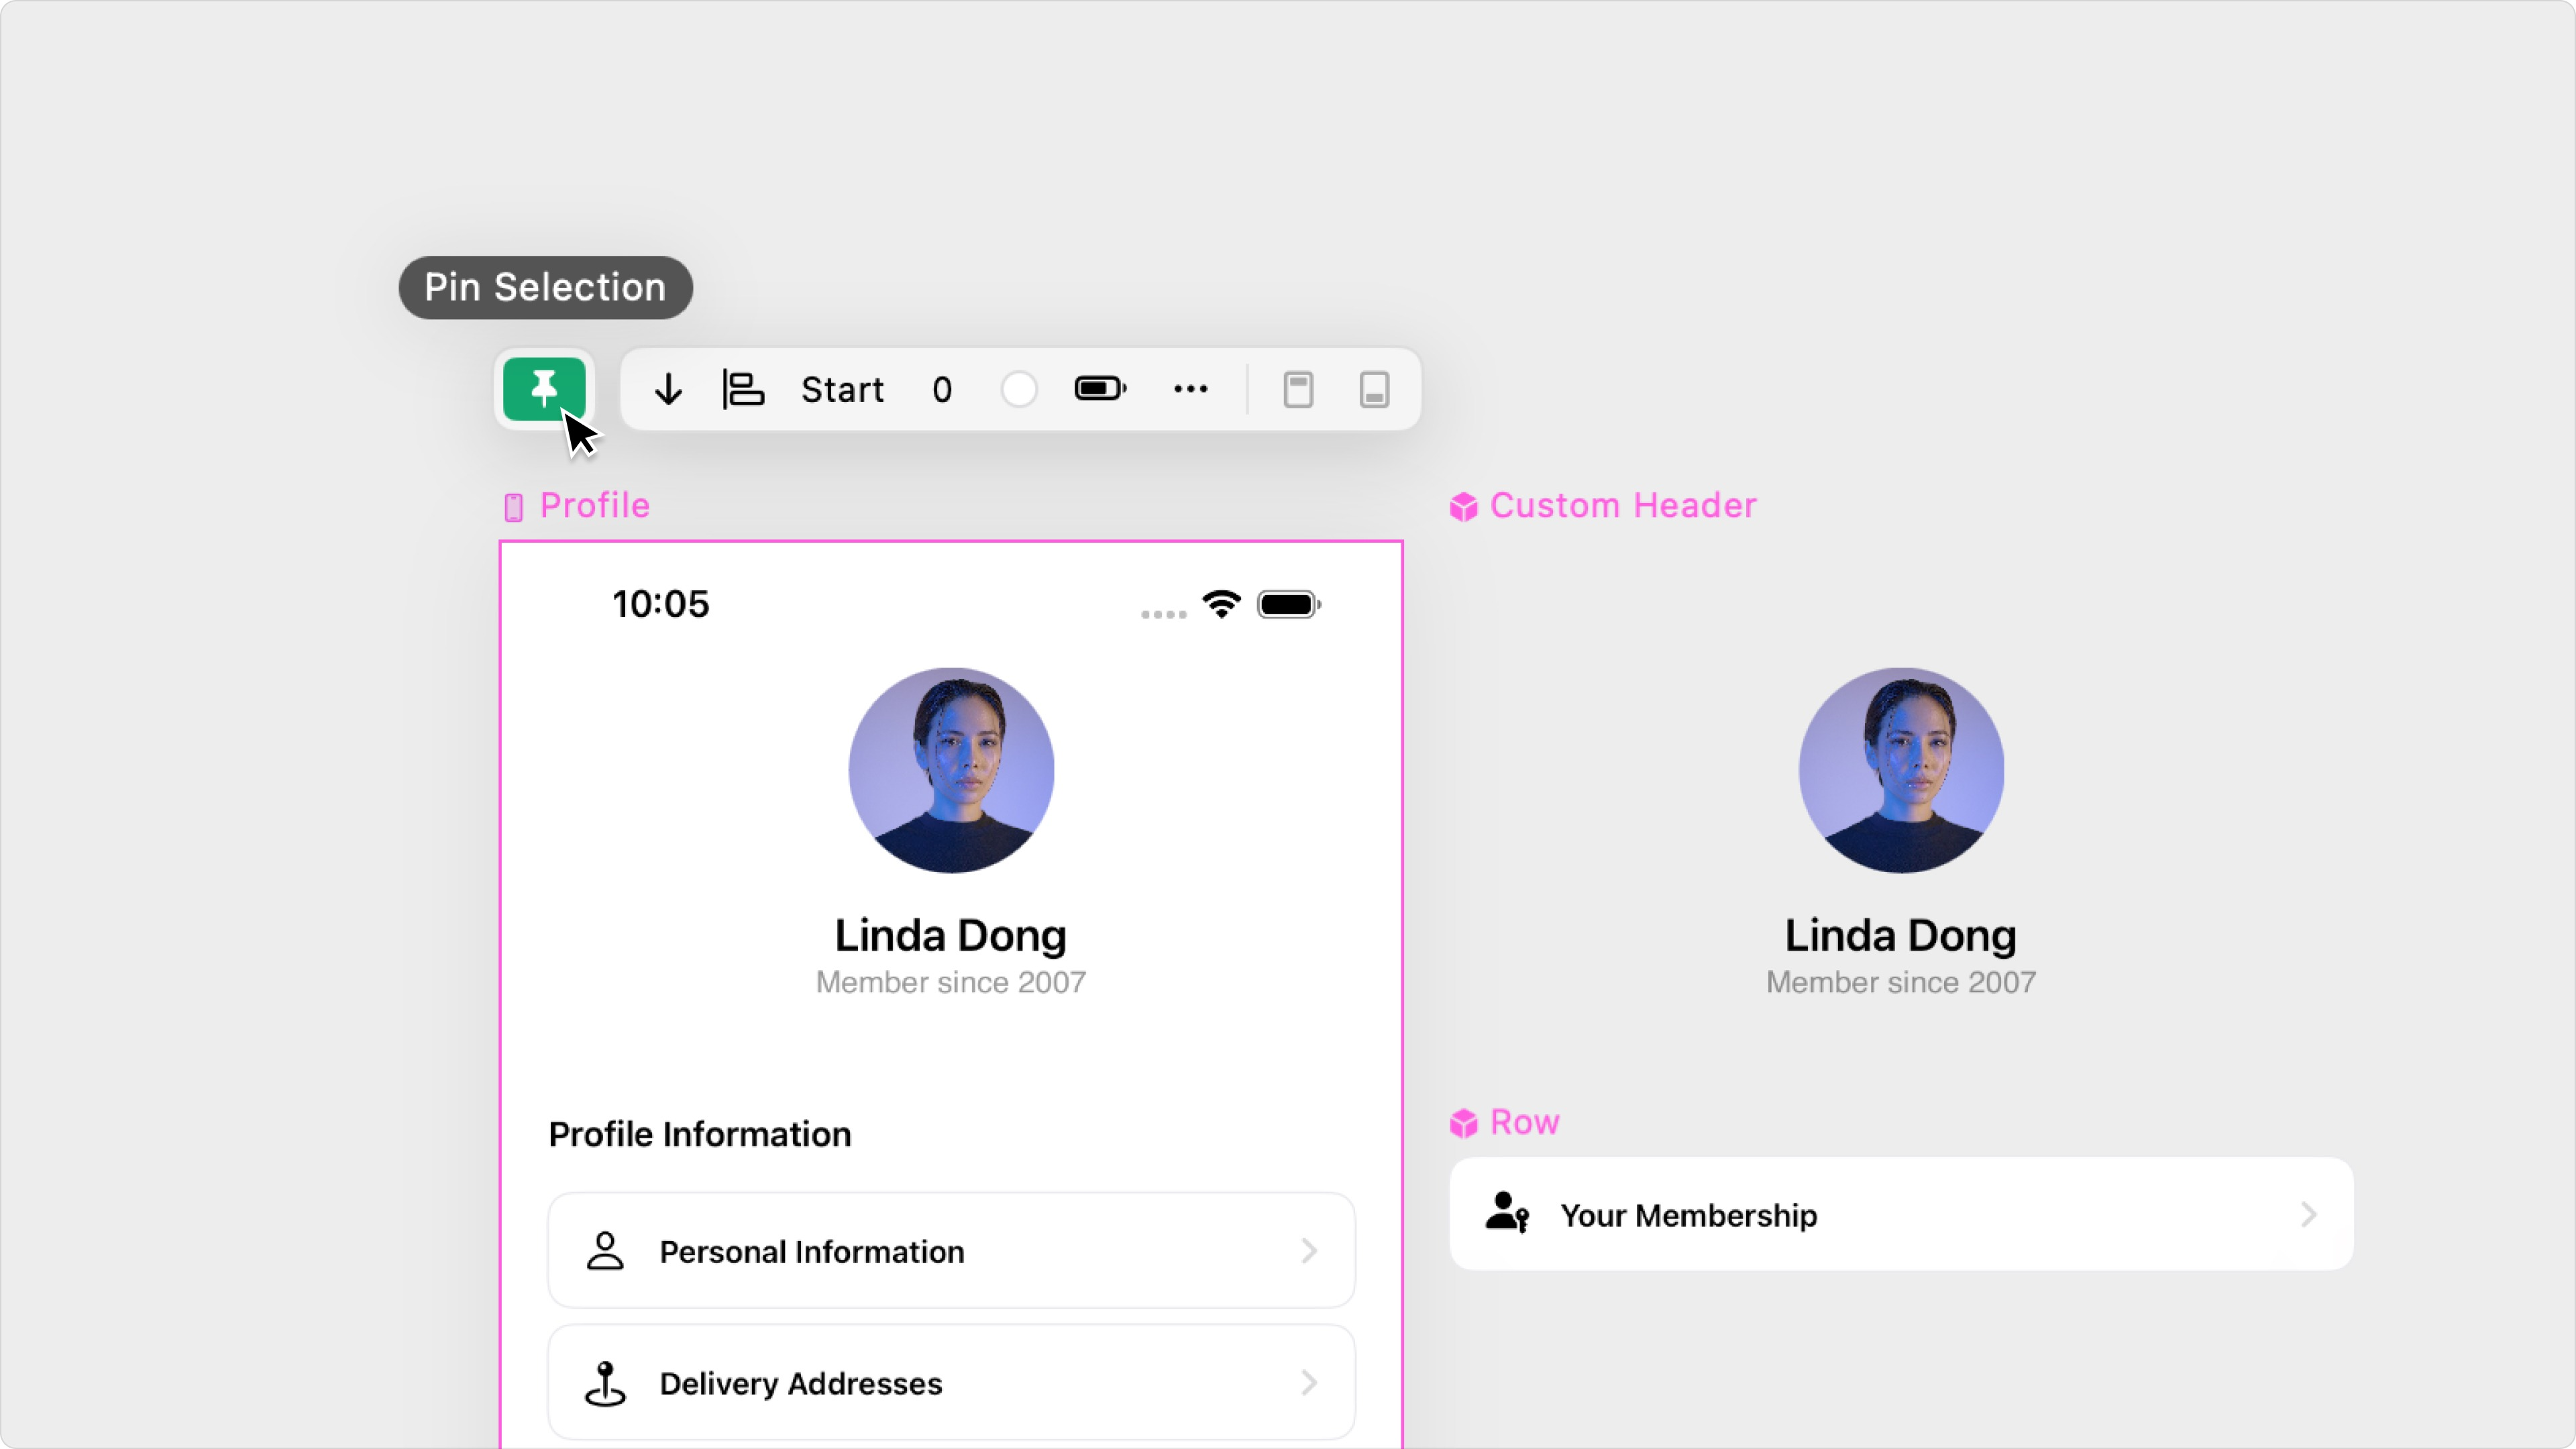
Annotating Interactions
Interactions in Play allow you to get pretty specific, but we know users still want to annotate sometimes. Whether you’re communicating with a teammate or leaving yourself a reminder, you can add comments to interaction nodes in Play.